What You'll Need
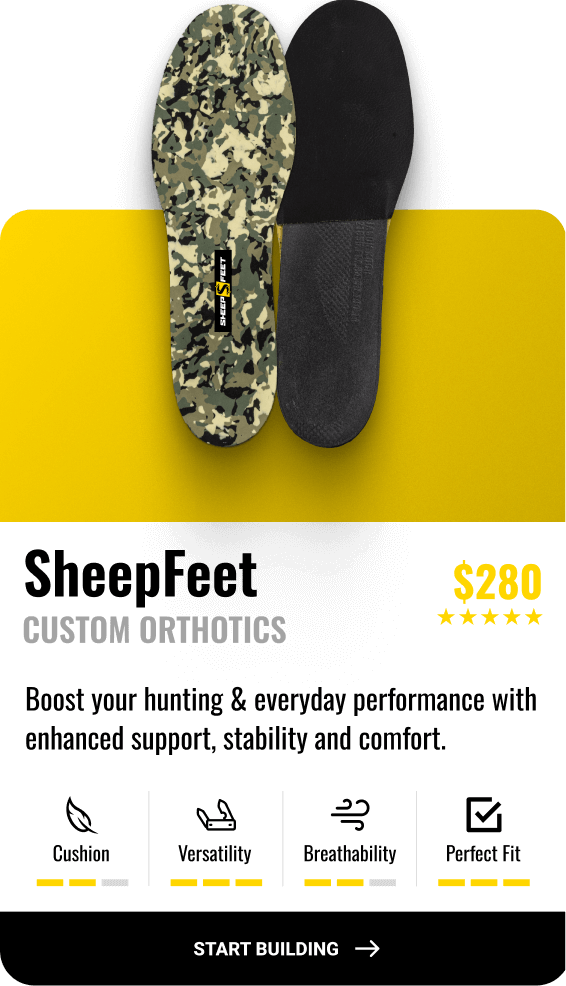
• Your new SheepFeet Orthotics
• A pair of sharp scissors
• Your footwear that they’ll be going into
• A pen or marker
HOW TO TRIM YOUR NEW ORTHOTICS
STEP 1 - REMOVE YOUR OLD INSOLE
Simply, reach inside your shoes or boots and pull out the current insole that’s inside
STEP 2 - LINE BOTH INSOLES UP
Now, take the old insole and place it on top of your SheepFeet - make sure you have the right side (best way to tell is by matching the arches). From there, you’re to line up the heel cups of both the insoles and then center the tops where there’s equal distance on both sides.
STEP 3 - GRAB YOUR PEN + TRACE
Now that you have have everything line up, place both insoles down on a solid surface carefully and begin tracing the shape of the pre-existing insole on your SheepFeet.
STEP 4 - TRIM OFF THE EXCESS
Now that you have your shape, grab a sharp pair of scissors and cut off the excess material to form your all-new custom orthotic. (Pro Tip: Follow the outside of the line, not the inside to reduce the chances of cutting it too short. You can always take off more, but never add any back.)
STEP 5 - TEST THE NEW FIT
Now that you have it all cut out, slip it into your boots and feel around on the edges to make sure there isn’t any extra material that’s causing any rippling - if so, pop it off and trim off a little extra in those areas. The SheepFeet should fit completely flush on the bottom of the boot perfectly.
STEP 6 - REPEAT AND CRUSH IT!
Now you know what to do, simply grab the other side and do the same thing so you have both sides 100% custom fit. After that you’re ready to crush it!


