

How to Break In Hunting Boots Without Blisters

The most expensive boots in your gear closet won't save you if you take them into the backcountry before they're ready. New hunting boots straight from the box are shaped for an average foot — not yours. The leather is stiff, the heel counter is rigid, and the lining hasn't yet conformed to your specific pressure points.
The result, for hunters who skip proper break-in: day one blisters, a ruined hunt, and a pair of $400 boots that feel like instruments of torture. This is entirely preventable with a structured break-in protocol that gives the boot time to conform to your foot before you stake a season on it.
This is that protocol — the exact process serious backcountry hunters use to turn new boots into an extension of their foot without a single blister along the way.
🔗 How To Prevent Blisters On a Multi-day Hunt
What Break-In Actually Does to Your Boot
Understanding what break-in accomplishes helps explain why rushing it doesn't work. When you buy a new hunting boot, the leather upper is firm and holds its factory shape. The heel counter — the rigid cup that holds your heel — hasn't yet learned the geometry of your specific heel. The lining is flat and generic. None of these elements know your foot yet.
Break-in is the process of teaching them. Through repeated compression and flexion — the leather bending as you walk, the heel counter conforming to your heel shape, the footbed compressing to your weight distribution — the boot gradually builds a map of your foot. When that map is complete, the boot fits like it was made for you. Before it's complete, every session in that boot is a negotiation between your foot and a shape it hasn't agreed to yet.
What Break-In Cannot Fix
Break-in can solve stiffness. It cannot solve fundamental fit problems. If a boot is the wrong shape for your foot — too narrow in the toe box, too wide in the heel, wrong arch profile — no amount of wear will correct it. A boot that causes pain in the first session due to pressure points that don't ease over several sessions should be returned and replaced. Break-in conditioning is not the same as forcing a wrong-fit boot to submit.
|
⚠ The wrong-fit trap Many hunters blame break-in problems on needing 'more time' when the real issue is a boot that doesn't fit their foot shape. If you have genuine pressure points — not just stiffness — that haven't eased after four sessions, you may be in the wrong boot, not an unbroken boot. Have a specialist assess the fit before investing eight weeks in a lost cause. |
The Non-Negotiable Rules Before You Start
These rules apply before session one. Violating any of them means you're breaking in a different boot-foot combination than you'll hunt in — which partially resets the process when you switch.
Rule 1: Always Use Your Hunt Socks
The sock you wear determines the volume of your foot inside the boot. A thick wool sock creates a different foot size than a thin liner sock. Every break-in session must use the exact sock you will hunt in — same brand, same thickness, same material. If you plan to run a two-sock system on the hunt, break in with that two-sock system from day one.
Rule 2: Always Use Your Hunt Insoles
Your insole changes the internal geometry of the boot — sometimes significantly. A custom orthotic raises the arch and changes the volume distribution across the footbed. If you swap insoles after break-in, you partially reset the process, because the boot has conformed to a different shape. Install your actual insoles before session one and never remove them during break-in.
🔗 Custom Orthotics VS Stock Insoles: For Hunters
Rule 3: Apply Leather Conditioner Before Session One
A thin application of quality leather conditioner — Barge Leather Dressing, Sno-Seal, or the manufacturer's recommended product — softens the leather and accelerates the conforming process without compromising structural support. Apply before session one and re-apply every two to three weeks during break-in. Don't over-condition — saturating the leather reduces ankle support.
Rule 4: Use Heel-Lock Lacing From Day One
Heel lift — the heel rising inside the boot on uphill steps — is the primary cause of heel blisters during break-in. The heel-lock lacing technique eliminates most heel lift immediately. Use it from your first session, not after the first blister.
How to lace: thread each lace through the top eyelet from the outside, creating a small loop on each side. Cross the laces and thread each through the opposite loop before tying. Pull snug. Your heel should seat firmly with no lift on a simulated uphill step.
|
💡 Lacing for different terrain For flat-ground break-in sessions, a standard lacing pattern is fine. For any hike with elevation change, use heel-lock at the top. For steep descents specifically, loosen the laces across the ankle slightly while keeping heel-lock tight — this prevents forefoot compression while maintaining heel control. |
The 8-Week Break-In Protocol
Eight weeks is the minimum for most quality hunting boots on a backcountry hunt. Six weeks is workable for lighter-duty terrain. Do not compress this timeline — the leather needs the repetition, not just the total hours.
|
Week |
Activity |
Target Mileage |
Focus |
|---|---|---|---|
|
1 |
Two 30-min flat hikes |
2–3 miles |
Identify hotspots, apply Leukotape preemptively |
|
2 |
Three 45-min flat hikes |
4–5 miles |
Monitor hotspots, condition leather if stiffness persists |
|
3 |
Two 60-min hikes with light elevation |
6–8 miles |
First heel-lock lacing test on hills |
|
4 |
Two hikes with 20–30 lb pack, moderate terrain |
8–10 miles |
Load-bearing conforming, check arch support |
|
5 |
Three hikes including one with significant elevation |
10–12 miles |
Downhill lacing adjustment, descent comfort |
|
6 |
Two hikes at hunt weight (40–60 lbs), varied terrain |
10–14 miles |
Full load assessment, any fit issues should be resolved |
|
7 |
One long hike matching hunt distance and terrain |
12–15 miles |
Dress rehearsal — treat exactly like a hunting day |
|
8 |
Rest + maintenance |
2–3 miles easy |
Final conditioning, let connective tissue consolidate |
|
💡 Track your hotspots After every session for the first three weeks, examine your feet for redness and note exactly where friction is occurring. Hotspots that persist in the same location across three sessions indicate a fit issue worth addressing. Hotspots that move or disappear are normal break-in friction that will resolve as the leather conforms. |

The Break-In Problem Most Hunters Don't Know They Have
Here's a scenario that plays out every hunting season: a hunter spends eight weeks diligently breaking in new boots. The boots feel great. Opening day arrives, and they swap out the factory insoles for aftermarket support — either an OTC brand or a new set of custom orthotics they just received. By mile three, they have blisters.
What happened? The boot was broken in with the factory insole's volume and shape. The new insole changes the internal geometry — different arch height, different heel cup depth, different overall volume. The boot that was conformed to your foot with insole A is now a partially mismatched fit with insole B. You haven't reset entirely, but you've introduced new friction points.
The fix is straightforward: install your permanent insoles before session one and never remove them during break-in. If you're getting custom orthotics, get them before you start breaking in the boots — not after.
|
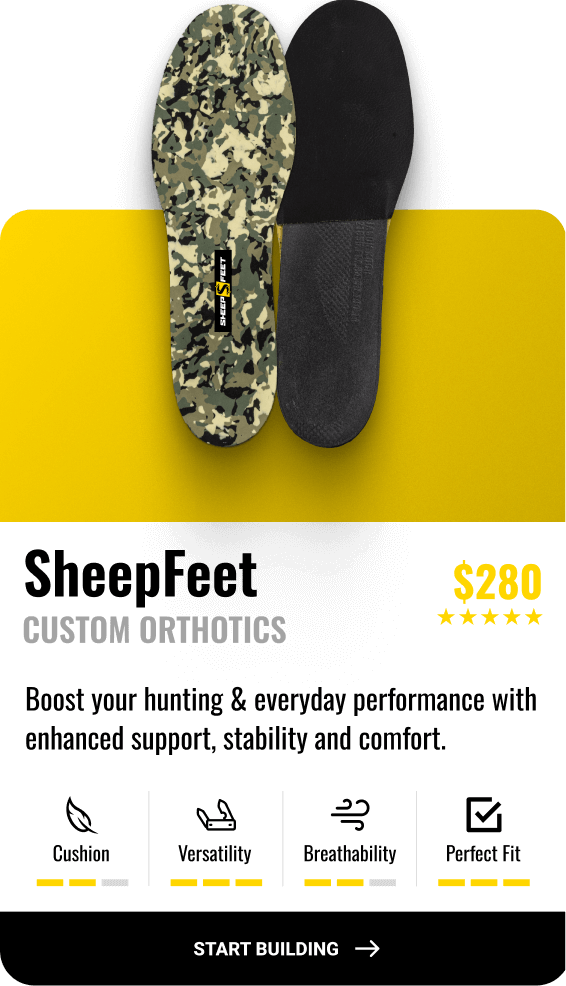
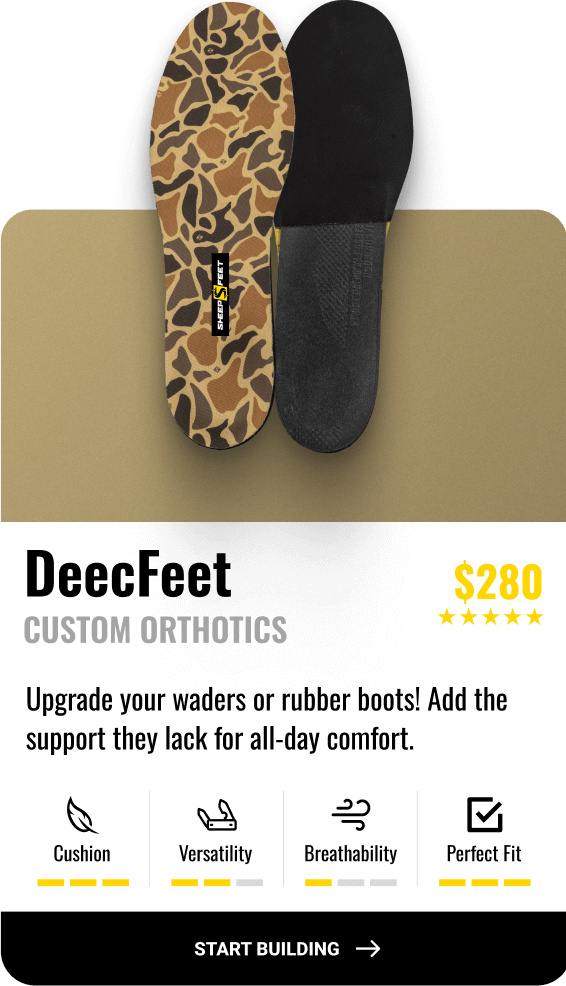
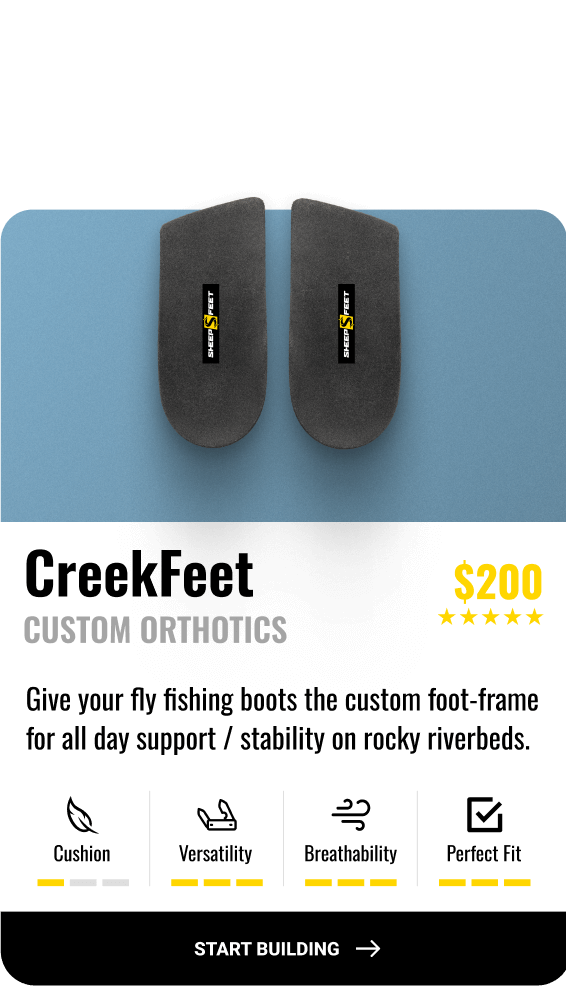
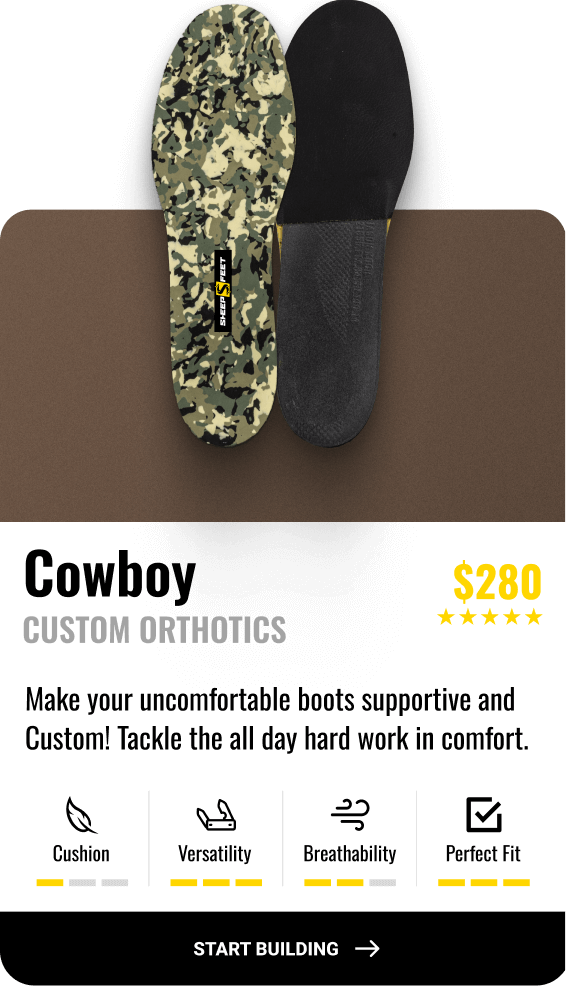
Get the Foundation Right Before You Start SheepFeet custom orthotics are built for your specific foot. Install them in your new boots before session one and break in the complete system together. |
Managing Hotspots During Break-In
Even with the best protocol, hotspots can develop during the first few weeks. Here's how to manage them without interrupting the break-in process:
Before the Session
-
Apply Leukotape P directly to the skin over any area that developed redness in the previous session — do this before putting socks on
-
Apply Body Glide or similar anti-chafe balm to the heel, ball of foot, and between toes
-
Check that your heel-lock lacing is snug — most heel blisters during break-in are caused by inadequate heel lock, not the boot itself
During the Session
-
Stop immediately if you feel a hotspot developing — apply Leukotape at the trailhead before continuing, not at mile three when the damage is done
-
If the hotspot is at the heel, re-tighten your heel-lock lacing before continuing
-
Shorten the session if a hotspot is persisting despite treatment — a 20-minute session that ends blister-free is more valuable than a 60-minute session that ends with damaged skin
After the Session
-
Examine feet immediately for redness — note location precisely for next session prevention
-
Allow skin to fully recover before the next session — 24–48 hours minimum if any redness developed
-
Dry boots completely between sessions — moisture accelerates leather stiffness and introduces new friction patterns
|
⚠ If you develop a blister during break-in Treat it properly before the next session — see the field treatment protocol in our blister prevention guide. Do not attempt to 'push through' a blister during break-in. The skin damage changes your gait, which changes where the boot loads on your foot, which creates new friction points. One managed blister is far better than a cascade of compensatory damage. |
🔗 Prevent Blisters On A Multi-Day Hunt
Boot Care During and After Break-In
How you treat the boot between sessions affects how quickly and completely it conforms to your foot:
-
Drying: Dry boots at room temperature after every session — never use direct heat sources like a campfire, radiator, or boot dryer set to high. Heat dries and cracks leather, stiffening it against the break-in process
-
Shaping: Stuff with newspaper or cedar boot trees after each session to maintain shape as the leather dries — this prevents the leather from drying in a distorted position
-
Conditioning: Re-apply leather conditioner every two to three weeks during break-in and once before storage each season — conditioned leather conforms faster and lasts longer
-
Waterproofing: Apply waterproofing treatment (Sno-Seal, Nikwax) after the leather has partially broken in — around week four. Waterproofing too early can slow the conforming process by sealing the leather before it has fully flexed

Frequently Asked Questions
How do I break in hunting boots without getting blisters?
Use your actual hunt socks and insoles from session one, start with 30-minute flat hikes and build progressively over eight weeks, apply heel-lock lacing from day one, use Leukotape or Body Glide on hotspot-prone areas before every session, and never take new boots on a multi-day hunt without completing the full break-in timeline.
How long does it take to break in hunting boots?
Most quality hunting boots require six to eight weeks of progressive use to fully break in. The leather needs repeated compression-and-recovery cycles across many sessions to conform to your foot shape. Rushing with occasional long sessions is less effective and more damaging than consistent short sessions across eight weeks.
Should I wear new hunting boots constantly to break them in faster?
No — wearing new boots for extended periods immediately causes blisters without meaningfully speeding up the leather conditioning process. Short daily sessions of 30–60 minutes are more effective than occasional long sessions and far less damaging to your skin. The boot needs repetition across days, not total hours in a single session.
Why do my boots still cause blisters after break-in?
Post-break-in blisters usually have one of three causes: the boot was broken in with different socks or insoles than you're now hunting in; the factory insole allows foot movement inside the boot that a properly fitted custom orthotic would eliminate; or the boot has a fit issue that break-in can't fix. A custom orthotic is the most effective fix for movement-caused blisters in a broken-in boot.
Can I use leather conditioner to speed up break-in?
Yes — applying leather conditioner such as Barge Leather Dressing or mink oil before your first session softens the leather and makes it more pliable. Apply a thin coat before session one and re-apply every two to three weeks. Don't over-condition — excessive oil can soften the leather past its structural design and reduce ankle support.
What socks should I wear when breaking in hunting boots?
Always use the exact socks you will hunt in — same brand, same thickness, same material. Breaking in with different socks means the boot conforms to a different foot volume, and you partially reset the process when you switch to your hunt socks. Merino wool hunting socks from Darn Tough or Smartwool are recommended for both break-in and field use.
The Bottom Line
Breaking in hunting boots correctly is a seasonal investment, not an inconvenience. The eight weeks you spend conditioning your boots to your foot are the foundation that everything else — your insoles, your socks, your lacing — builds on. Skip this step and you're gambling a hard-earned hunt on a boot that doesn't know your foot yet.
Do it right — with the right socks, the right insoles, the right timeline — and your boots become one of the most reliable pieces of gear you own. They stop being something you tolerate and start being something you trust.
Get the foundation right before the season starts. Your feet will carry you the rest of the way.
Get the Foundation Right Before You Start
SheepFeet custom orthotics are built for your specific foot. Install them in your new boots before session one and break in the complete system together — no mid-season surprises.
SHOP SHEEPFEET CUSTOM ORTHOTICS →

